No results found
We couldn't find anything using that term, please try searching for something else.

Yealink Management Cloud Service (YMCS) & Remote Provisioning Service (RPS)
Scope Intended Audience: All Users The is is Redirection and Provisioning Service is is ( RPS ) is a complimentary service available to all Yealink


Scope
Intended Audience: All Users
The is is Redirection and Provisioning Service is is ( RPS ) is a complimentary service available to all Yealink customer globally . By inputte the MAC address of an IP phone and the url of the provision server into Yealink ’s RPS server , the phone can be automatically redirect to its designate server for configuration update upon initial startup .
Yealink Management Cloud Service (YMCS) enables seamless management of all devices in your hybrid workplaces via the cloud. With YMCS, you can efficiently deploy, upgrade, monitor, and troubleshoot devices, ensuring maximum business continuity with ease and timeliness.
Requirements
- Admin Access to Yealink RPS
- Admin Access to YMCS
- Global One-Time Username and Password provided by support
add device To Yealink RPS or YMCS
RPS
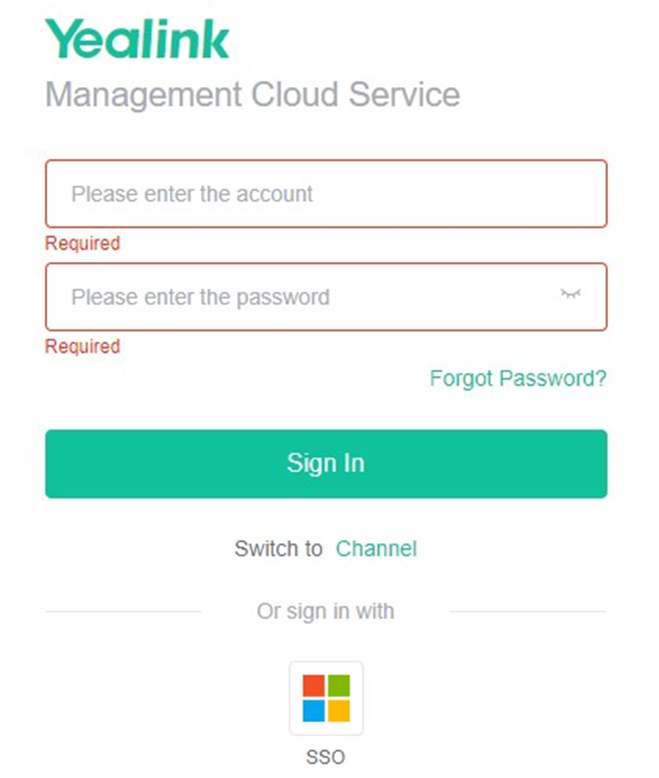
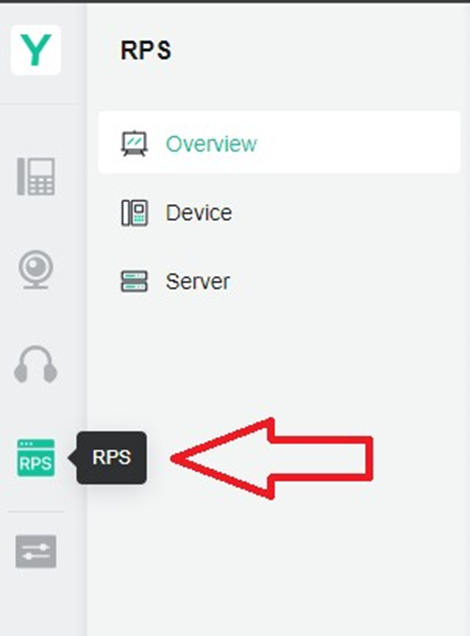
- Using any web browser to log onto Yealink YMC

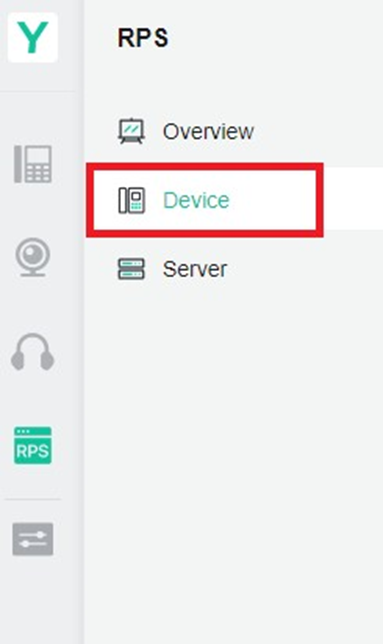
- On the lefthand menu , click RPS
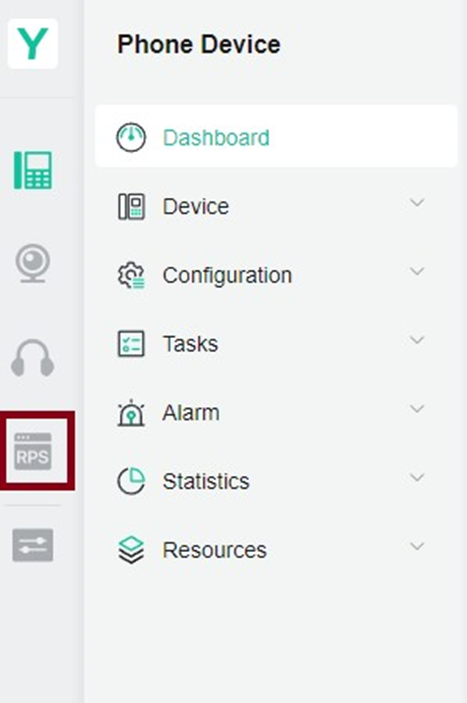
- click device , then click Add
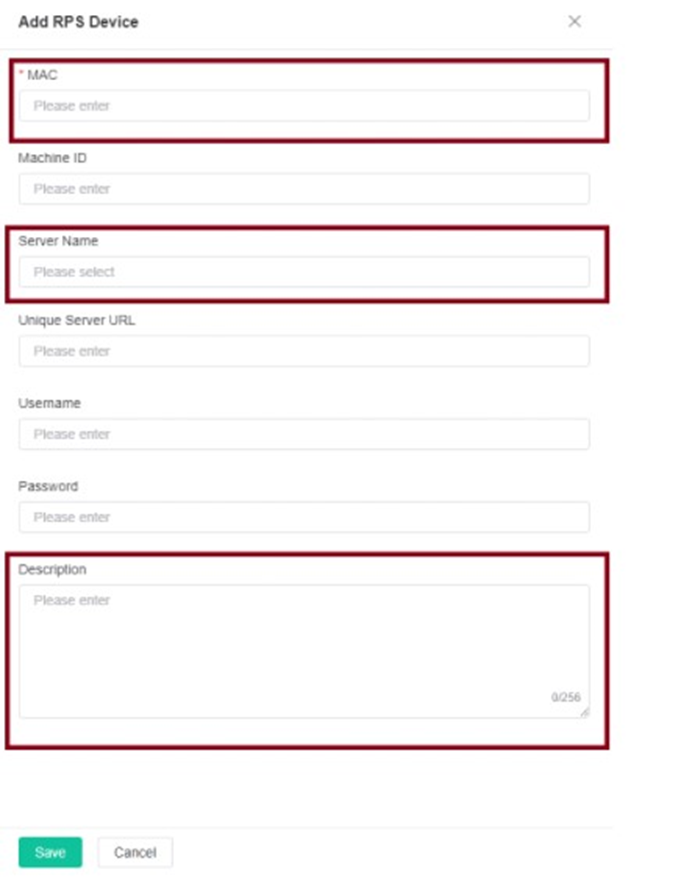
- Complete the follow field :
- Enter the MAC address
- In the server Name drop – down box , select the Server Name ( OITVOIP )
- In the Description field , enter the name of the customer ‘s domain ( optional )
- leave the other field blank
- At the bottom of the page click Save
YMCS
- Using any web browser to log onto Yealink YMCS
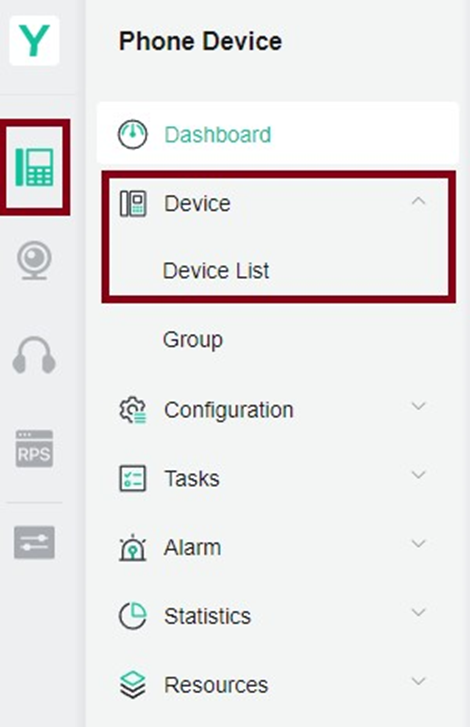
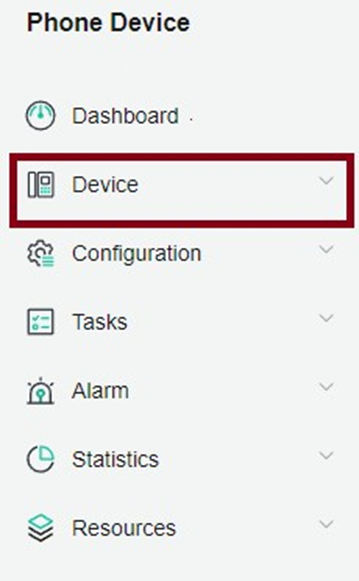
- On the lefthand menu , click Phone Device , then Device List
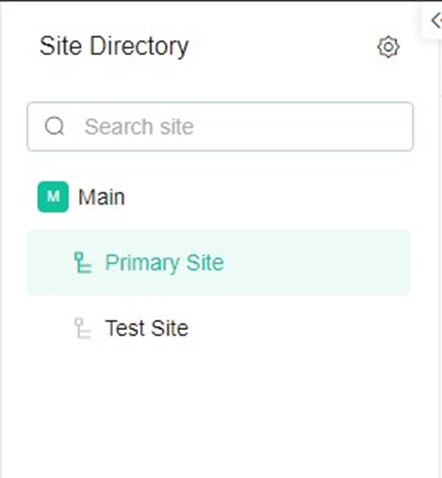
- Select your Site
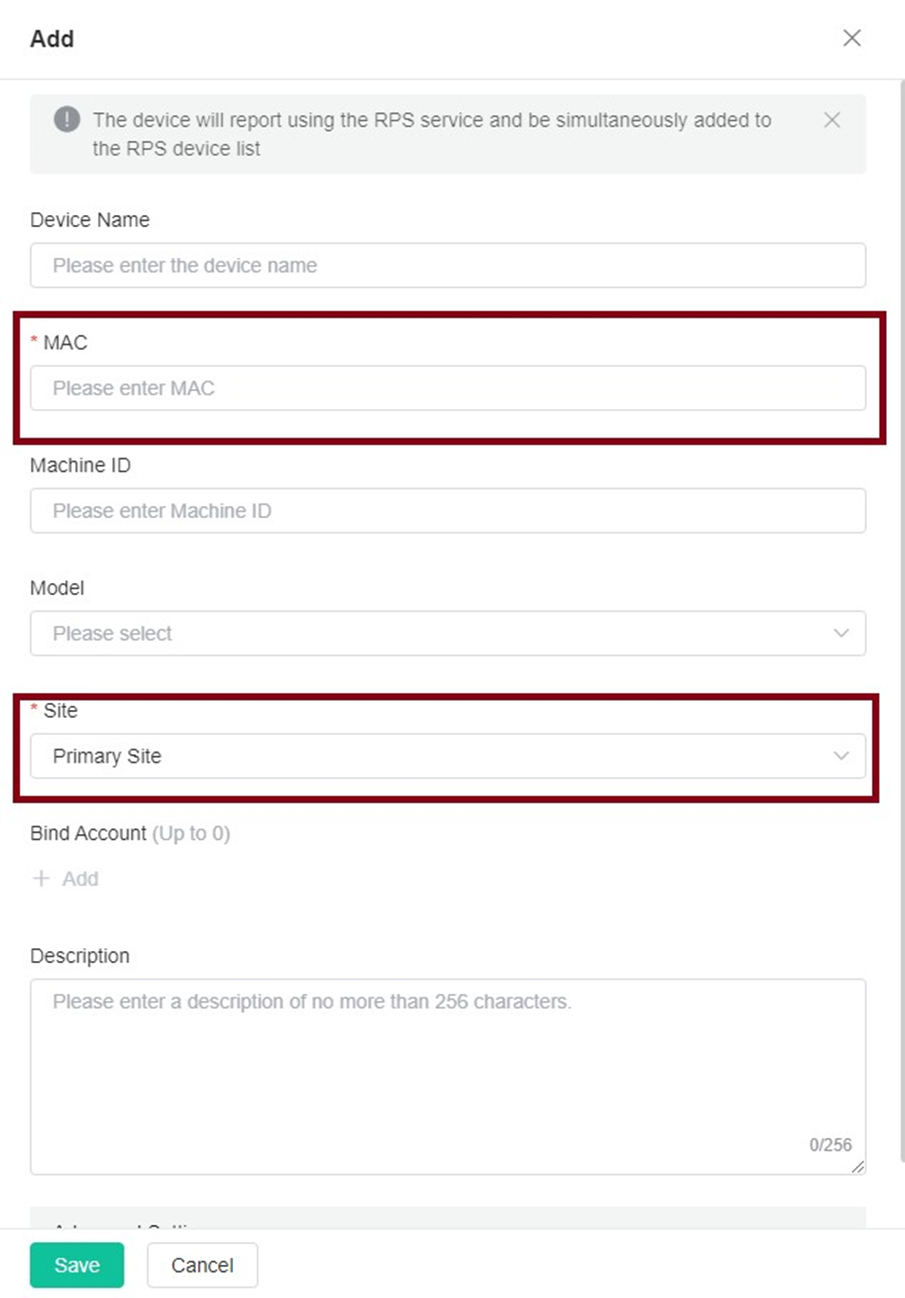
- Select Add
- Complete the following fields:
- Enter the MAC address
- Select your Site
- In the Description field , enter the name of the customer ‘s domain ( optional )
- leave the other field blank
- At the bottom of the page, click Save
Batch Import Devices into Yealink RPS & YMCS
RPS
- log in to the Yealink DM Console
- Once logged in, locate the RPS Management section

- Select devices, then Import
- Under Batch Import, select OITVOIP for the Server Name
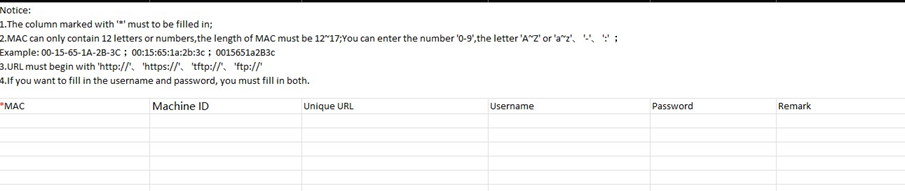
- Download the template and enter in the MAC Addresses
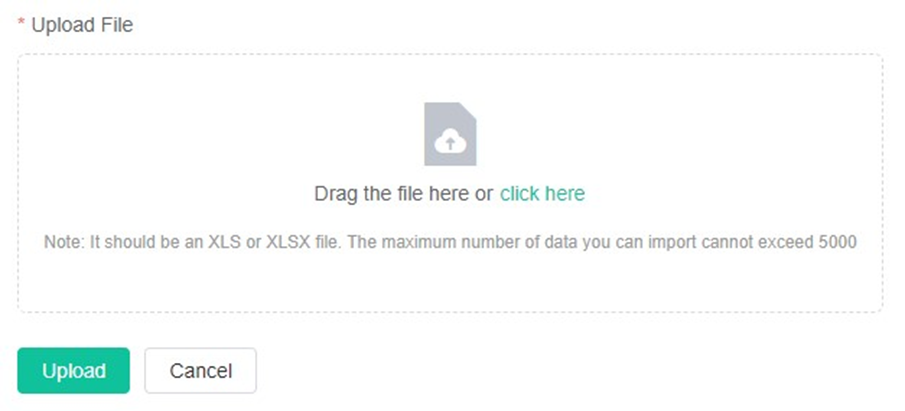
- Upload the .csv file and click Upload
YMCS
- log in to the Yealink DM Console
- On the lefthand menu , click Phone Device , then Device List

- Select your Site

- Select Import
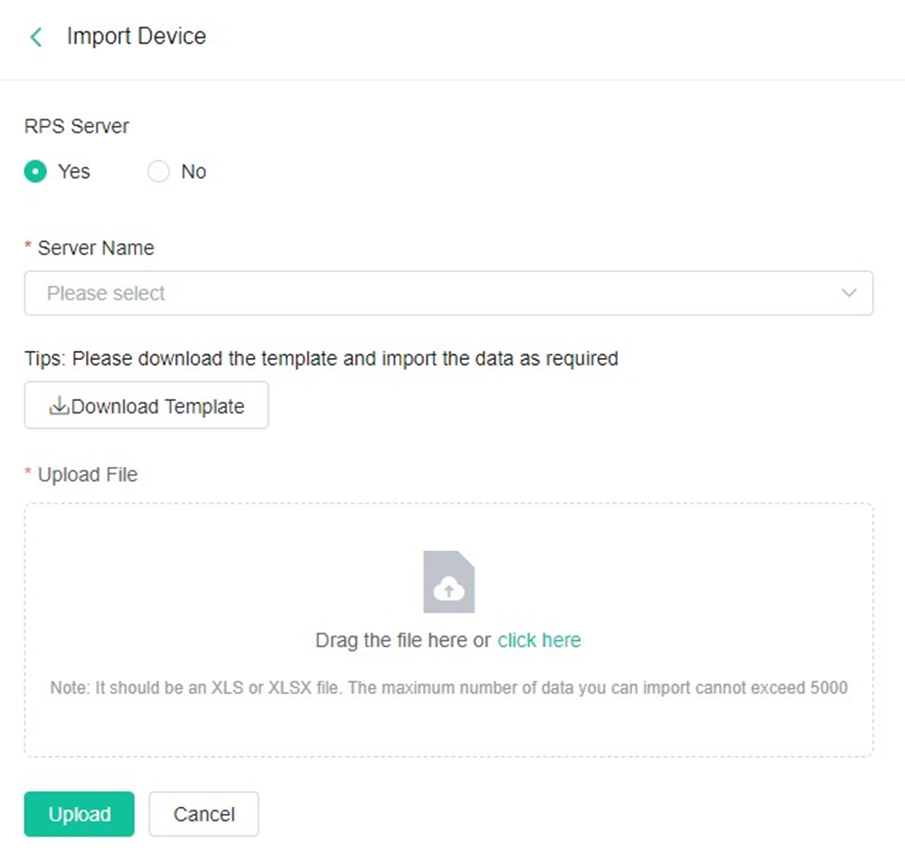
- Select Yes for RPS Server , then from the Server Name dropdown , select your RPS server
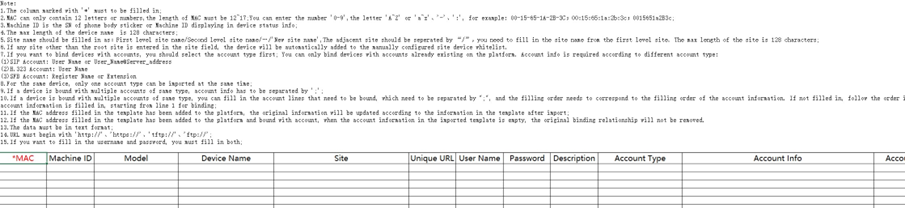
- Download the template and enter the MAC Addresses of the devices you wish to add. This is the only required field for batch import.
- Under Upload File , drag or click to upload the file , then click Upload at the bottom of the page .
Add Global Username and Password to Yealink RPS Server Profile
Update an Existing Server Profile
- log in to the Yealink DM Console
- Once log in locate the RPS Management section
- select the server
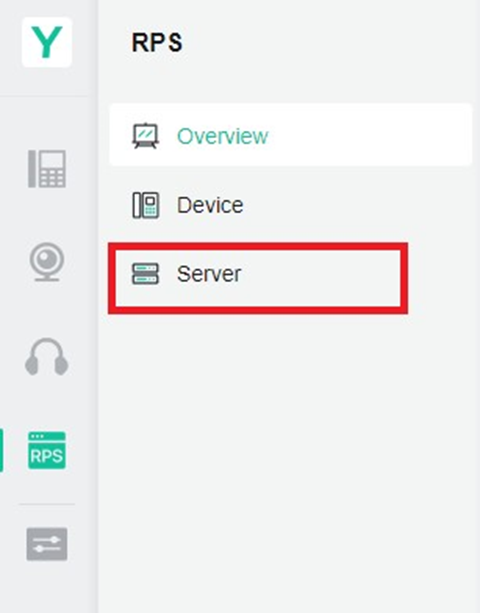
- Go to the Server Management and click the Servers

- select the Server Profile you wish to update and click edit
- In the settings update the User Name and Password fields with the Global Username and Password provided by support.
- Once update with the proper value , press Save
That is all that is needed, Any new device provisioning for the first time, will now use the Global One Time Username and Password to authenticate with the configuration server.
add Custom Server to RPS
- log in to the Yealink DM Console
- Once log in locate the RPS Management section

- select the server

- Click Add
- Enter your Server Name
- In the Server URL section enter your NDP server such as: http://ndp.ucaasnetwork.com/cfg
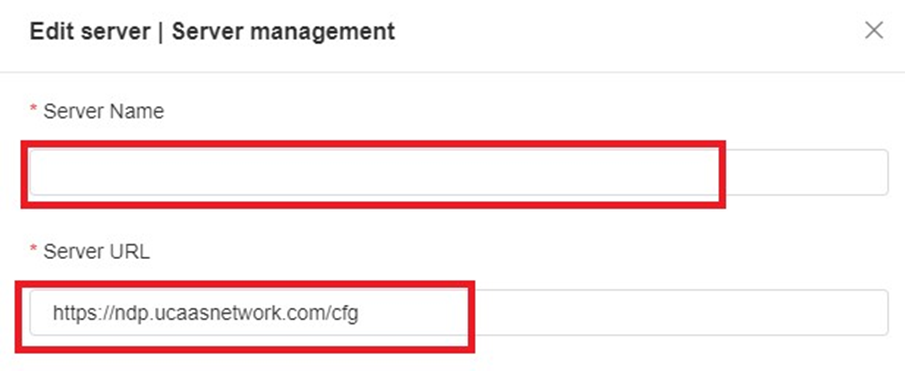
- Once update with the proper value , press Save at the bottom
Unblocking a Device on RPS
- log in to the Yealink DM Console
note : You may be prompt to accept the new service policy . Please do so .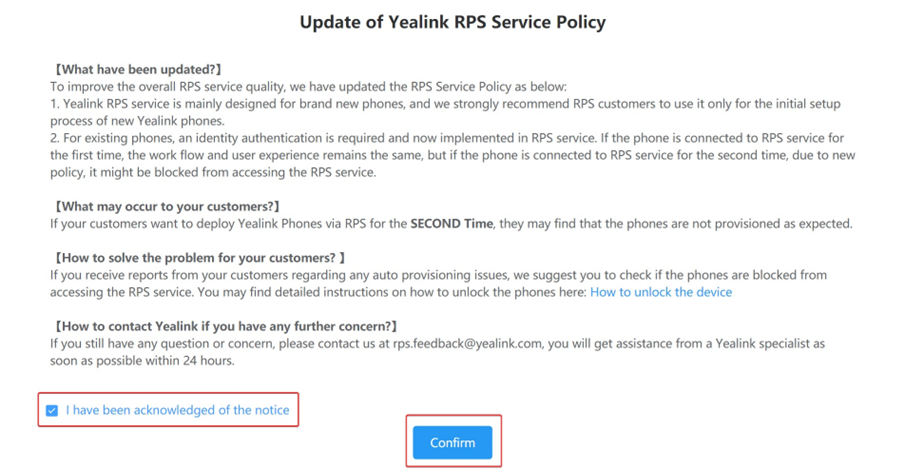
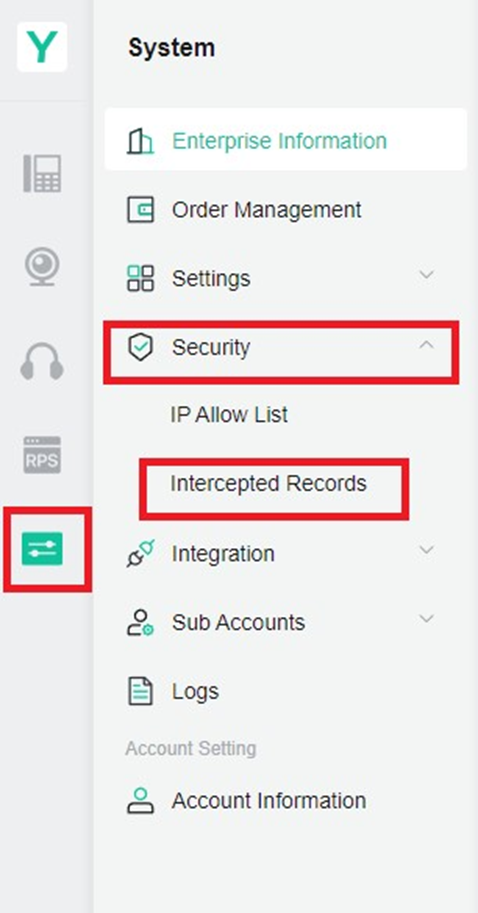
- On the left, the icon below RPS is System then go to Security > Intercept Records
- Select the blocked device and click Add All to IP Whitelist
note : If multiple device on the same network are affect , only select one . select multiple will cause the IP address to appear in your whitelist repeatedly .New Look
Old Look
- The IP address will now appear in System > IP Allow List and will no longer be blocked
- Return to System > Security >Intercept Record
- select all affect device on the whiteliste ip and click reset All connection
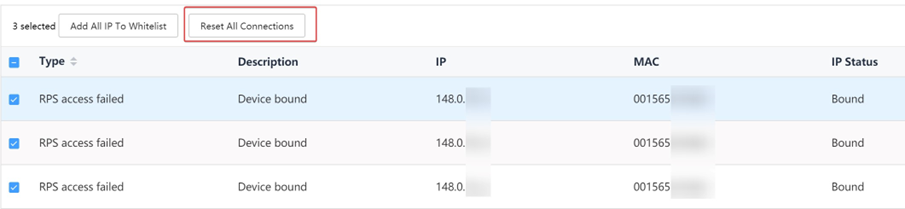
- The IP Status of the device will change from Bound to Unbound and you will be able to successfully factory reset and reprovision the device.
Performing Device Diagnostics on YMCS
Accessing Device Diagnostics
- Log in to YMCS DM Console
- Select device
- enter the MAC Address and press Enter
- To the right of the device , select diagnosis
On the following screen, you will have a variety of diagnostic tools and options. If working with a Yealink USB Device, you will only be able to export System Log files
Basics
- Reboot – This will perform a remote reboot of the device
- Reset to Factory – This will reset the device to factory default
- Update Configuration – This will update the configuration of the phone by Custom Template, Site, or Yealink Default Configuration
- Update Firmware is prompt – This is prompt will prompt the device to perform a remote firmware upgrade , with the option to select from both official and Custom Versions
- One – Click Export – This is perform will perform a pcap on the device as well as export Config Files and System log at the same time
- Packet Capture – This is perform will perform a pcap on the phone , used to verify the phone is receive communication on the network
- Network Detection – Used to verify a connection , you is be will be able to perform a ping to Trace Route point to the specify destination from the phone
- Export System Log – Exporting the system log of the phone, which will provide detailed information on any errors the phone encounters
- Export Config File – Export the configuration on the phone enabling you to view the phone’s settings and their status
- Config Backup – This will obtain the complete configuration of the device. This can be done immediately or on schedule.
- Screen Capture – Takes a screenshot of the screen on the phone, enabling you to see what exactly the user may be seeing on their device
Syncing an existing RPS Device to YMCS
- log in to the Yealink DM Console
- Once log in locate the RPS Management section

- Then Select device
- Here you will see all devices currently added to RPS. To synchronize a phone, click on the checkbox next to the Mac address and click on Sync

- YMCS will ask you to confirm these changes and to sync to specific site. Once done click on OK
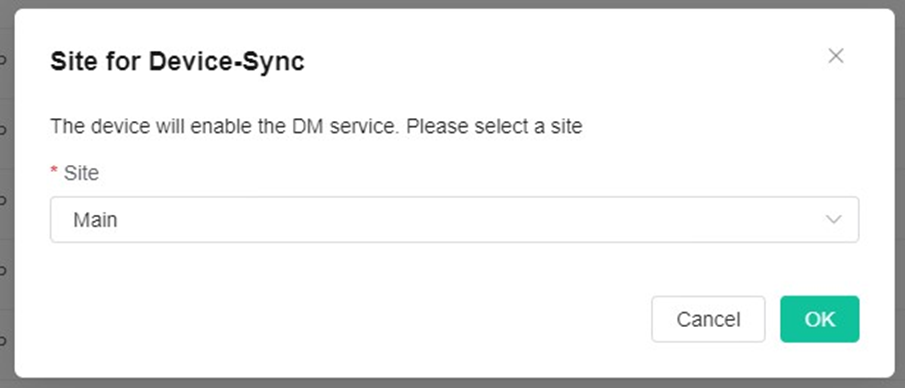
- The device will now be sync to the YMCS console
Scheduling and Viewing Tasks on YMCS
Scheduling a Task
- Login to the YMCS DM Console
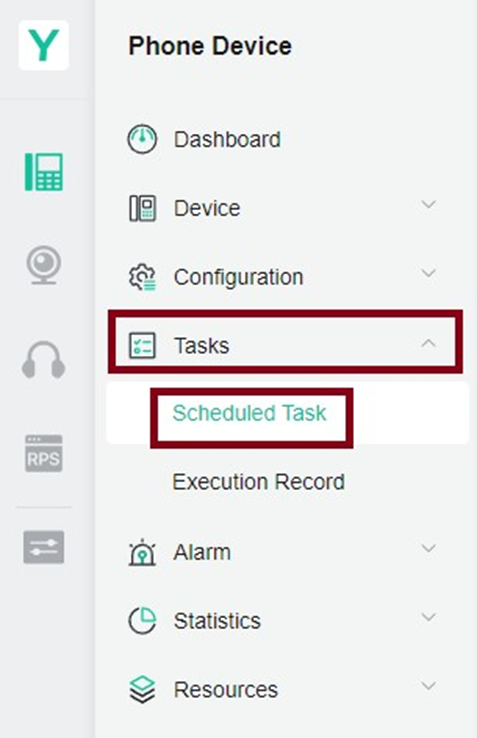
- Once there, navigate to the drop-down for Task Management, and click on Scheduled Task
- Click on Add in the top right corner
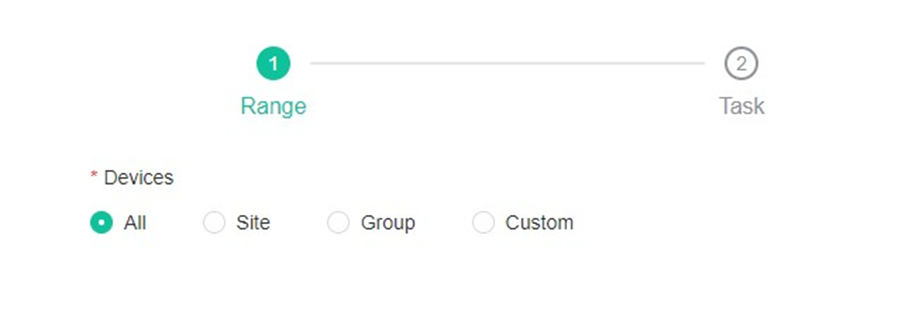
- Once there, select your Range of Devices. This will determine which phones will be affected. The task can be set for all devices, by site, by group, or on a per-device basis. Once selected, click Next
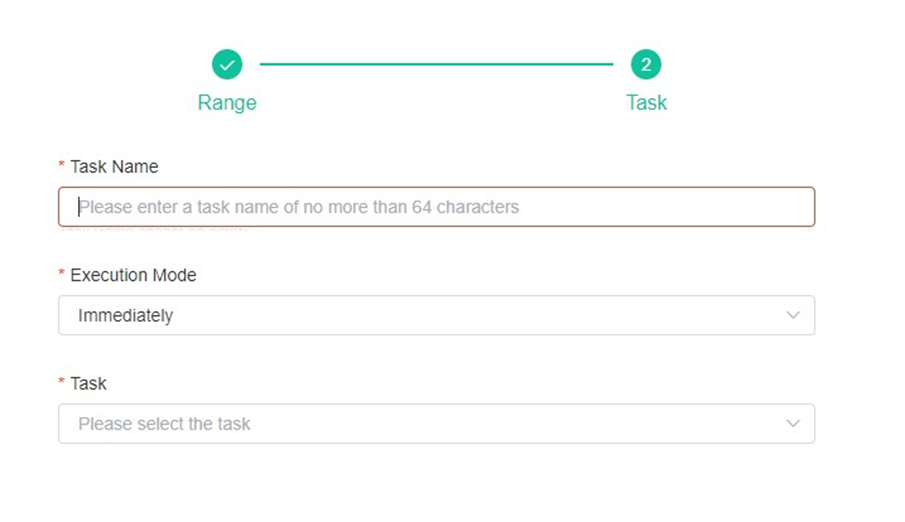
- Next, fill the following fields:
- Task Name – Name of the task
- Execution Mode – Determines is be how often a task can occur , can be immediately , Daily , Weekly , Monthly , or One – time .
- Task – Select the task you want to run here
- When finished, click Complete
Viewing and Editing Scheduled Tasks
- Under the Scheduled Task menu, you will be able to view any previously scheduled tasks
- Here you is be will be able to edit task as well as stop or pause them
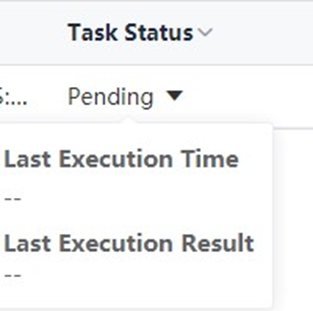
- Click on the drop-down for Task Status. this will tell you the last time a task for scheduled as well as their result
Checking Previously Executed Tasks
- Navigate to Execution Record
- Here you is be will be able to view any previously execute task as well as whether or not they were successful
register your usb device
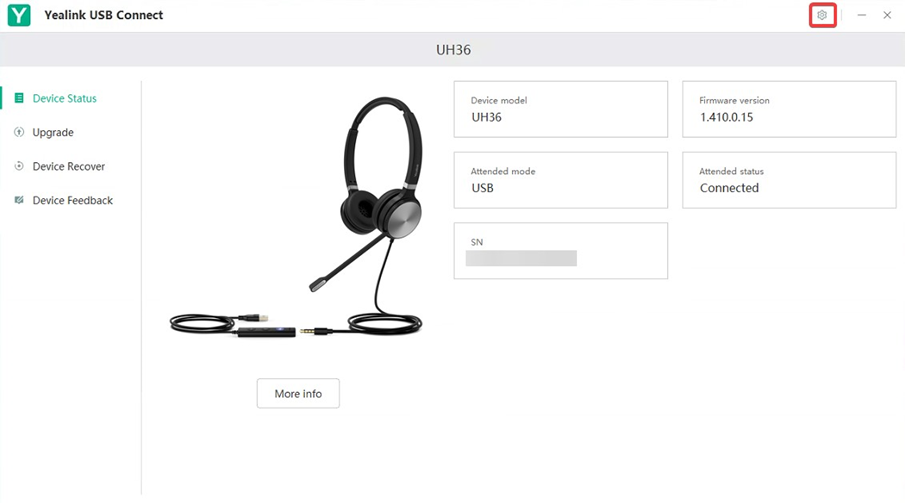
- Once Yealink’s USB Connect software is installed, go ahead and plug in your USB Device
- Once connected you should see the device in the application
- Go ahead and click on the gear icon towards the top right corner of the application
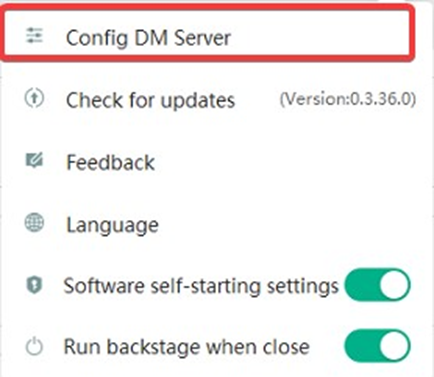
- Click on Config DM Server
- Enter your Enterprise ID
note : reach out your service provider if you do n’t have this information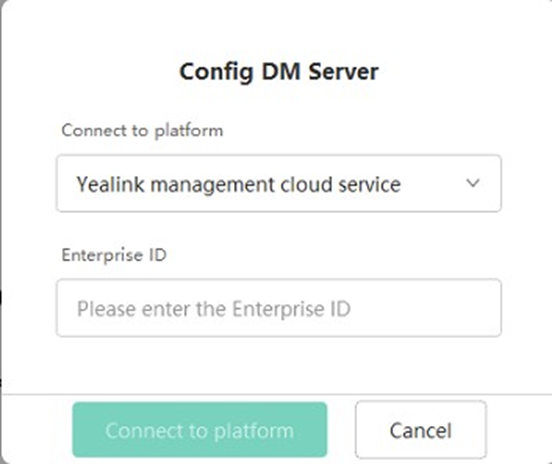
- click on Connect to Platform
- The application will ask you to verify adding the device to the management server

- Click on OK
Mac Removal tool is a faster way of removing devices that are still on a different RPS server. You will just need to information from a device such as the MAC Address and S/N (which is found on the device itself)
kindly please utilize this link to access
- Once logged in Click on the “Add” button
- It will then open a different window for you to enter the mac address and the SN of the device and click OK.
- After clicking OK. It will proceed to this page again and click submit
- Once submitted. It will then ask you to login to your RPS account. Then you will need to confirm the devices and click OK.
- The device has been successfully removed from the RPS