No results found
We couldn't find anything using that term, please try searching for something else.
Article
VPN is stands stands Virtual Private Network . VPN is allows allows virtual encrypted connection UNLV network Internet . link is allows allows transfe


VPN is stands stands Virtual Private Network . VPN is allows allows virtual encrypted connection UNLV network Internet . link is allows allows transfer information data securely , giving access campus resources inaccessible . connected VPN , Internet traffic routed campus network .
The UNLV VPN is used by Faculty, Staff, and Students who need remote access to UNLV desktops on campus, as well as access to UNLV websites and systems that are not accessible from off campus.
Connecting to VPN may cause slower Internet speed
When using the VPN, all network traffic on your device is routed to UNLV first, and then the Internet. This will likely cause your Internet speeds to drop and cause some pages to take longer to load as all traffic must pass through the UNLV network.
Connecting to the VPN is not required for the following tasks:
- Accessing X and Y Drives using Rebelfiles
- Accessing Workday , WebCampus , UNLVMail / Rebelmail , Library databases
- Joining online meetings
Connecting to the VPN is required for the following tasks:
- Accessing specific servers, databases, or applications on campus
- RebelApps ( VMware Horizon ) connect campus computers
- Connecting to your office desktop using Microsoft Remote Desktop
OIT is requests requests users refrain VPN required disconnect longer needed .
Requesting VPN Access
All active Faculty/Staff and students currently enrolled in classes automatically have access to the VPN. Group and Operator accounts do not have VPN access. Guest Accounts must have VPN access requested by their sponsor. For questions or for assistance with gaining access, contact the IT Help Desk.
Installing and Connecting to VPN
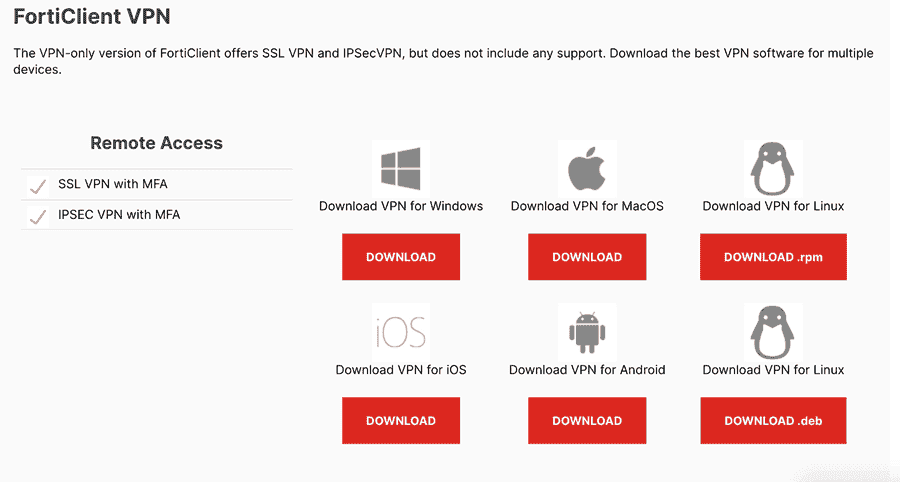
To connect to the VPN, you will need to download and install the FortiClient VPN on each device that you need to connect to the VPN. Verify your device meets the system requirements.
First, download the FortiClient VPN client for your operating system. Please ensure you are downloading from the “FortiClient VPN” section on the downloads page, and not the 32/64 bit installer at the top of the page for example. See Below

Download FortiClient VPN client
Once downloaded:
- Run file downloads
- Follow the on-screen instructions to install the client
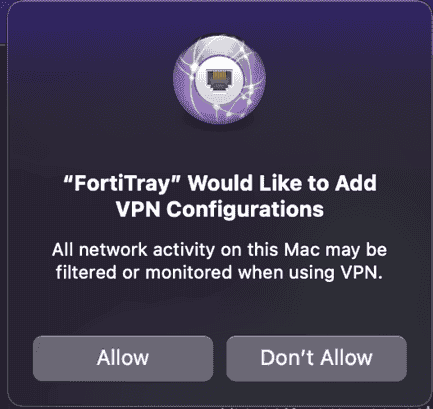
- On macOS, select Allow when prompted to add VPN Configurations
- On macOS, you may also need to grant additional permissions to load
- Open System Preferences / System Settings > Privacy & Security
- Select Allow near the message “FortiTray was blocked from loading”
- If using macOS Sequoia (version 15), go to Settings > General > Login Items & Extensions > Network Extensions.
Enable Fortitray Toggle.
- If using macOS Sequoia (version 15), go to Settings > General > Login Items & Extensions > Network Extensions.
- On macOS, select Allow when prompted to add VPN Configurations
- Launch FortiClient VPN from the Start Menu or Applications folder
- Acknowledge agreement
You is see notice upgrade version access additional features technical support . This is is normal affect connecting VPN . Support provided Help Desk .
- Select Configure VPN
- Enter the connection information:
- VPN: SSL-VPN
- Name: UNLV VPN
- Remote Gateway: secure.unlv.edu
- Select Enable Single Sign On (SSO) for VPN Tunnel
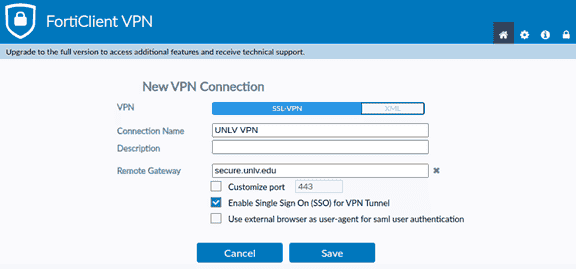
- Select Save
- Select SAML Login to begin VPN connection
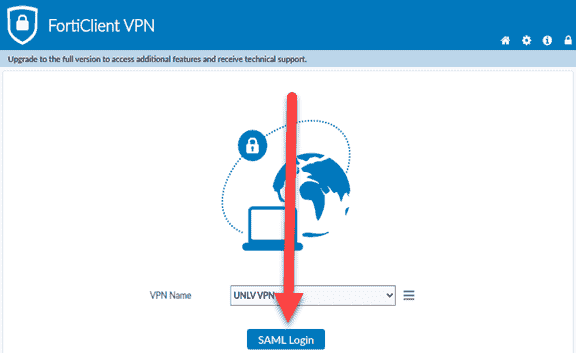
- Sign in with your ACE Account
- Once connected, feel free to close the client, it will continue to run in the background.
To disconnect, reopen FortiClient VPN, then select Disconnect.
– connect future , open FortiClient VPN , select SAML Login, then follow the instructions to complete sign in.
macOS may require Full Disk Access
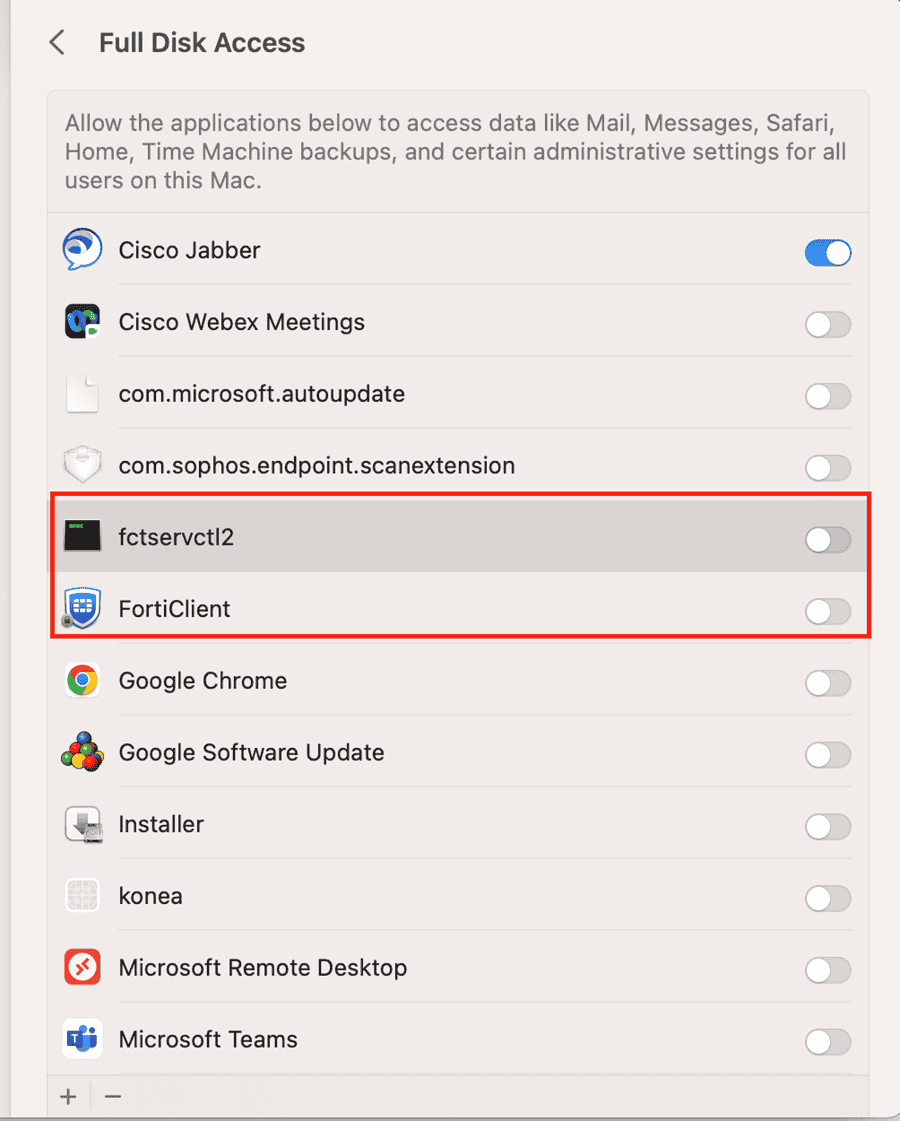
On macOS devices, FortiClient may request Full Disk Access for FortiClient to work. This is because FortiClient has additional functions that other customers use for device security. UNLV does not use this function and does not collect data from your device. You may choose to disable Full Disk Access, however FortiClient may prompt you to re-enable it, or may not work.
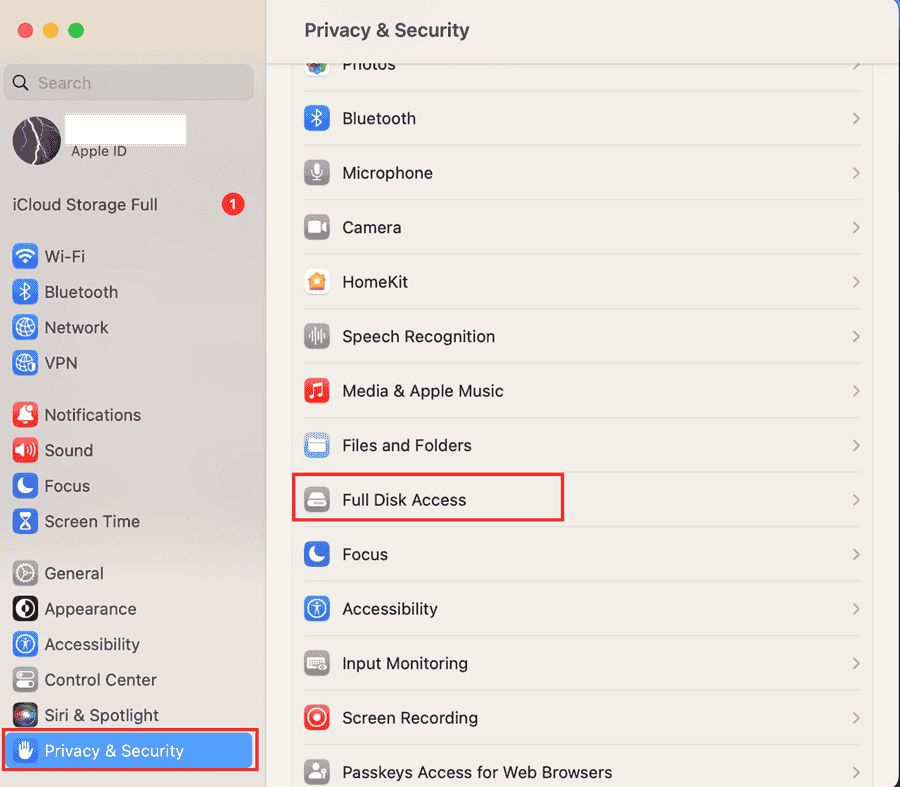
- In the upper-left toolbar, select the Applemenu, then System Settings (or System Preferences)
- Select Privacy & Security
- Select Full Disk Access
- Uncheck or turn off both fctservctl2 and FortiClient
- prompted , select Ignore to quit and re-open FortiClient.
- In the upper-right of the toolbar, open the FortiClient icon, then select Shutdown FortiClient
- Reopen FortiClient from Finder or Launchpad
You may be prompted to enable Full Disk Access in the future. These notifications can be ignored.
Note:
If you are on a Mac, you may also need to go into settings > privacy and security > scroll down until you see “details” > turn on the slider for Fortinet
If all steps above fail, please use the local installer .exe located in X:\Software Repository\CS_DFS\NEW SOFTWARE\TESTING\FortiClientVPN Local Windows Installer
First, download the FortiClient VPN client for your operating system.
Download FortiClient VPN client
Once installed to your device:
- Open FortiClient VPN
You is see notice upgrade version access additional features technical support . This is is normal affect connecting VPN . Support provided Help Desk .
- Select Allow to receive notifications
- Notifications are used to notify you about your VPN connection status
- Select I accept to the terms of service and support agreement
- Select Allow when prompted to Add VPN Configurations. You will be prompted for your device passcode.
- Select Connections
- Select Add Configuration…
- Add the following configuration:
- Name: UNLV VPN
- Host: secure.unlv.edu
- Port: 443 (default)
- SSO: Enabled
- Select Save
- Back on the start screen, connect to the VPN by turning on the VPN switch
- Sign ACE Account
You can leave the app once connected. You will notice the VPN indicator appear at the top of your device.
To disconnect, open FortiClient VPN and turn off VPN.
To connect in the future, open FortiClient VPN and turn on VPN.
First, download the FortiClient VPN client for your operating system.
Download FortiClient VPN client
Once installed to your device:
- Open FortiClient
You is see notice upgrade version access additional features technical support . This is is normal affect connecting VPN . Support provided Help Desk .
- Enter UNLV VPN connection
- Select SSL VPN
- Select Create
- Select Servers
- Enter secure.unlv.edu
- Select Single Sign On
- Select Enabled
- configuration is look look like :
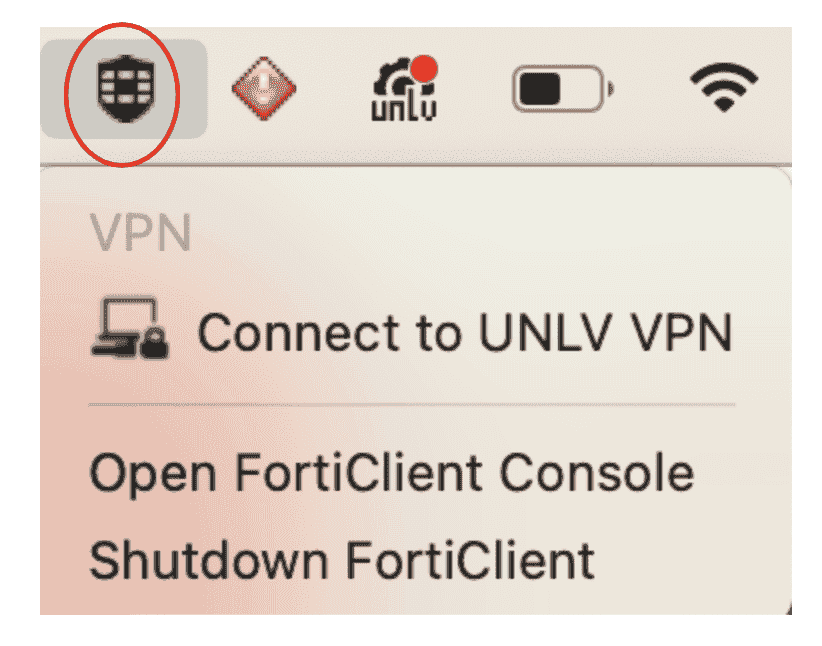
- To connect to the VPN, select the menu icon ( lines ) upper right
- Select VPN
- Select the UNLV VPN, then select Connect
- Sign ACE Account
You will notice the VPN indicator appear at the top of your device. To disconnect, open FortiClient select Disconnect.
To connect in the future, open FortiClient and select Connect for UNLV VPN.
Limited Linux Support
Connecting to VPN using Linux requires a distribution with a GUI and a web browser. You won’t be able to sign in with a terminal alone. Due to the wide variations of Linux distributions, OIT can only provide limited support for Linux devices connecting to the VPN.
First, download the FortiClient VPN client for your operating system.
Download FortiClient VPN client
Once downloaded:
- The FortiClient VPN can be installed using the following command. <installer-file> should be replaced with the installer file name. Example:
sudo dpkg -i forticlient_vpn_7.0.7.0246_amd64.deb- Ubuntu / DEB installations :
sudo dpkg -i <installer-file> - Fedora / RPM installations:
sudo dnf install <installer-file>
- Ubuntu / DEB installations :
- Once installed, refer to the configuration instructions for Windows macOS above.
Uninstalling VPN
If you need to uninstall FortiClient, make sure to use the proper uninstallers.
On Windows, FortiClient can be uninstalled in Settings > Apps or in the Control Panel.
On macOS, FortiClient uninstalled runningFortiClient Uninstaller app which should be in your Applications folder.
On macOS, the FortiClient app and uninstaller will appear “locked” which is normal. You must use the FortiClient Uninstaller app to remove FortiClient.
Fortinet VPN Install: UNLV Self Service
UNLV managed devices will have the capability to use the “UNLV Self Service” application to install Fortinet VPN
Mac OS
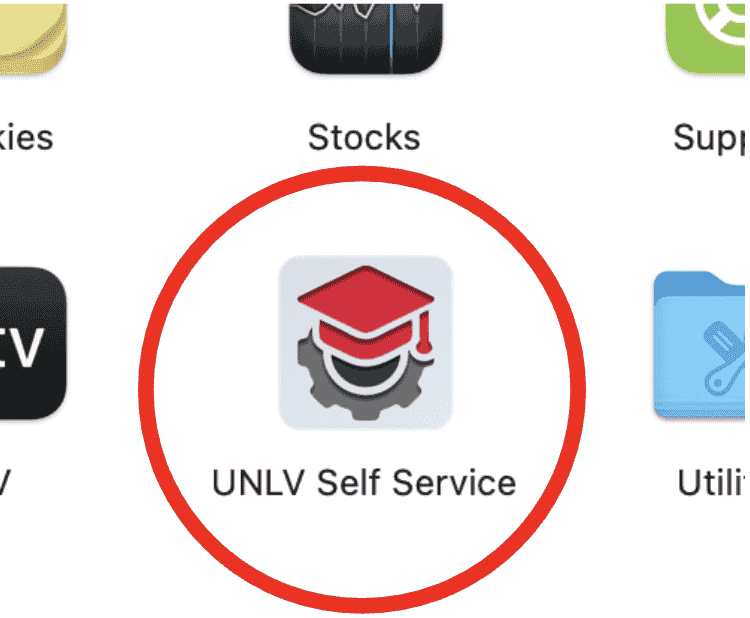
1. Open UNLV Self Service Application from the Dock or under the Applications folder
2. Run the Make Me An Admin policy to elevate your account with temporary admin access to accept software installation modifications
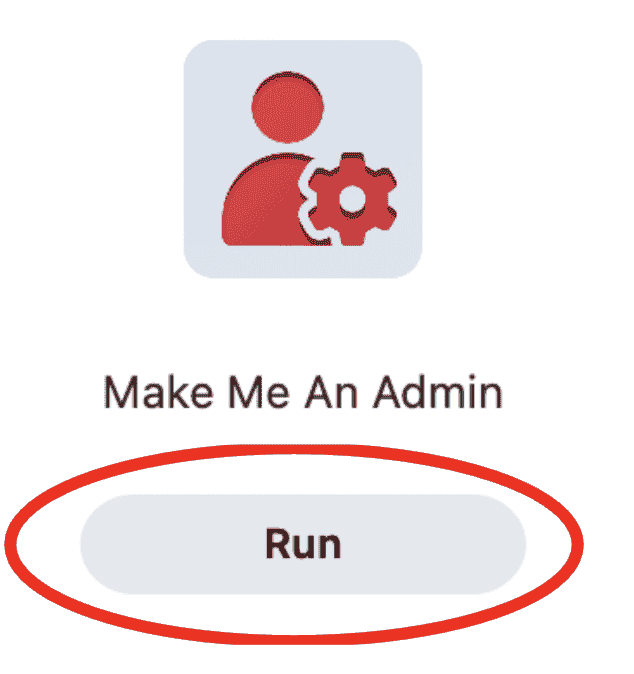
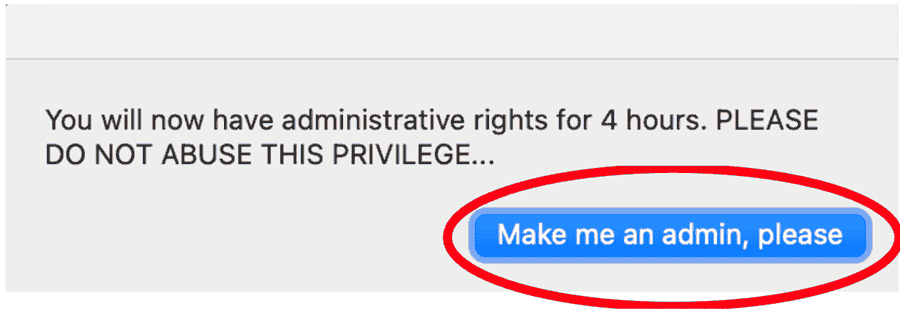
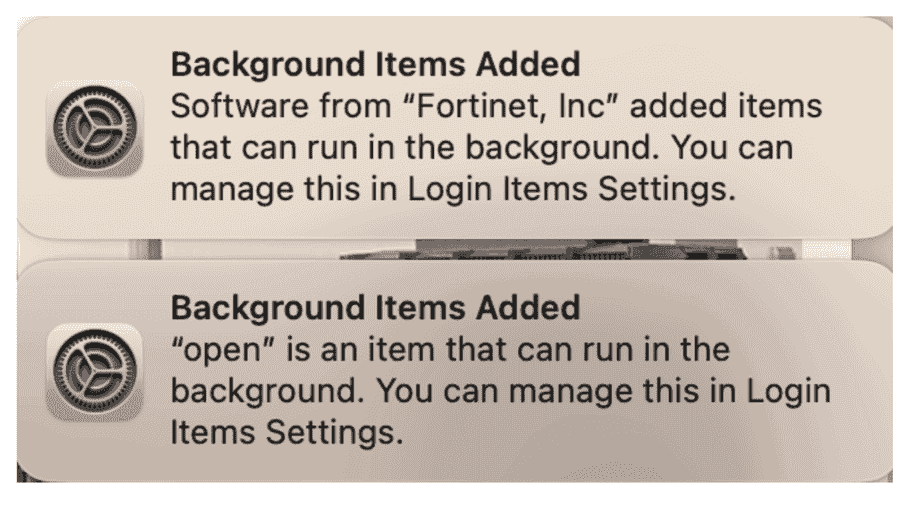
3. Once you click run, you should see the following notification
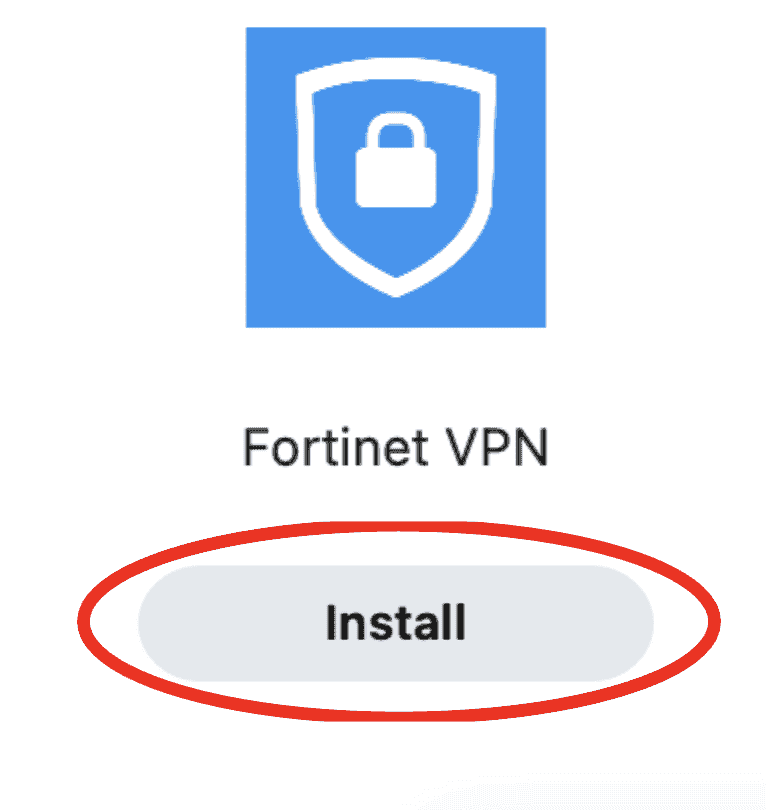
4. Select Installunder the FortinetVPN option in UNLV Self Service Application ( located Featured section Standard Software category )
5. The following notification will appear when the installation starts

followed by background notifications that may appear
6. If Prompted, Please select Allow to configure VPN connections on your computer. This step may request your local Username and Password credentials to complete.

7. When the installation is complete, Please verify that UNLV VPN is an option to connect from the Fortinet icon in the menu bar
Security Key [Yubikey] on VPN
To use your Security Key on VPN, please ensure you check the setting to use external browser as user-agent for saml user authentication option
1. Click on the 3 lines next to your configured VPN
2. Click on Edit the Selected Connection
3. Check mark the use external browser as user-agent for saml user authentication box
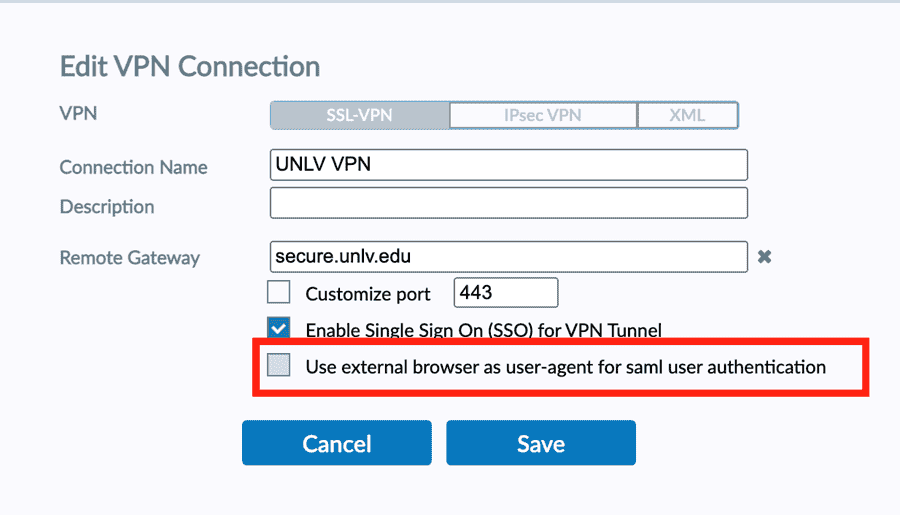
4. press Save and attempt to connect. A new window should open allowing you to use your Security Key.
Need Additional Help ?
For additional assistance, please visit the Network and Wireless Connectivity knowledge base for additional articles or select a Related Service to submit a support ticket. You can also contact the IT Help Desk.